What is PCF and Why Should You Care?
PowerApps Component Framework (PCF) lets you build reusable UI components that plug directly into model-driven Power Apps and Dynamics 365. Instead of being stuck with out-of-the-box fields and grids, you can build anything — a rich text editor, a signature pad, an interactive Kanban board — and deploy it as a first-class citizen in D365 forms.
As of 2026, PCF controls are one of the most in-demand skills in the Power Platform ecosystem. Companies that invest in a PCF control library reduce their D365 customization costs significantly and improve user adoption.
1. Set Up Your Dev Environment
Install the Power Platform CLI if you haven't already:
npm install -g @microsoft/powerplatform-cliThen create your PCF project scaffold:
pac pcf init --namespace LG Autonomous --name MyFirstControl --template field
cd MyFirstControl
npm install
Project Structure
After pac pcf init, you'll have:
index.ts— Your main component class (implementsComponentFramework.StandardControl)ControlManifest.Input.xml— Declares properties, datasets, and eventsgenerated/— Auto-generated type files (don't edit)css/— Your component styles
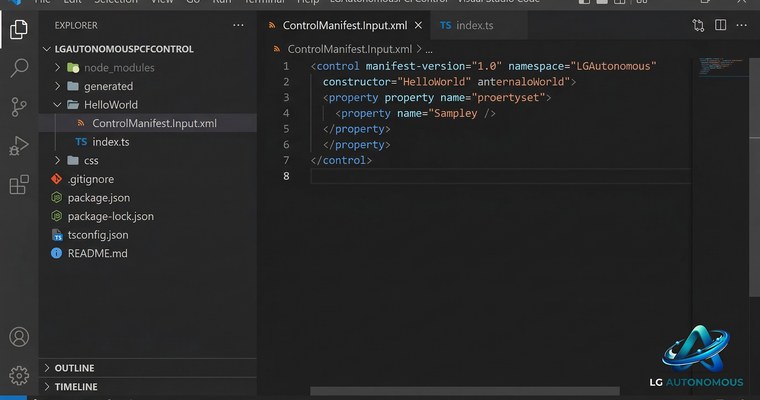
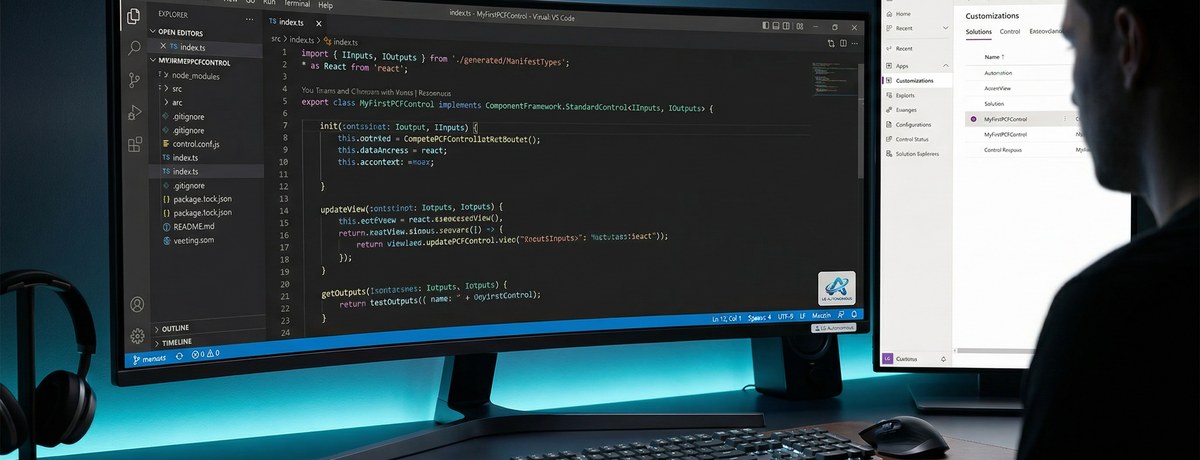
pac pcf init — opened in VS Code Explorer2. Understanding the Component Lifecycle
PCF controls follow a specific lifecycle that you need to understand to avoid bugs:
- init() — Called once. Create your DOM elements, subscribe to events. Don't read property values here — use updateView for that.
- updateView() — Called every time bound property values change, or when the container size changes. This is your main "render" method.
- getOutputs() — Called when the framework needs your output property values (after notifyOutputChanged).
- destroy() — Clean up event listeners, timers, etc.
3. Building a Simple Rating Control
Let's build a 5-star rating field control. Here's the ControlManifest.Input.xml:
<property name="value"
  display-name-key="Rating"
  description-key="Rating_Desc"
  of-type="Whole.None"
  usage="bound"
  required="true" />
And the TypeScript implementation:
export class StarRating
  implements ComponentFramework.StandardControl<IInputs, IOutputs> {

  private _container: HTMLDivElement;
  private _value: number = 0;
  private _onChange: () => void;

  public init(
    context: ComponentFramework.Context<IInputs>,
    notifyOutputChanged: () => void,
  ): void {
    this._onChange = notifyOutputChanged;
    this._container = document.createElement('div');
    this._container.className = 'star-rating';
    this._renderStars();
  }

  public updateView(context: ComponentFramework.Context<IInputs>): void {
    this._value = context.parameters.value.raw ?? 0;
    this._renderStars();
  }

  private _renderStars(): void {
    this._container.innerHTML = '';
    for (let i = 1; i <= 5; i++) {
      const star = document.createElement('span');
      star.textContent = i <= this._value ? '★' : '☆';
      star.className = i <= this._value ? 'star filled' : 'star';
      star.addEventListener('click', () => {
        this._value = i;
        this._onChange();
      });
      this._container.appendChild(star);
    }
  }

  public getOutputs(): IOutputs {
    return { value: this._value };
  }

  public destroy(): void { /* no timers to clear */ }
}
4. Testing in the PCF Harness
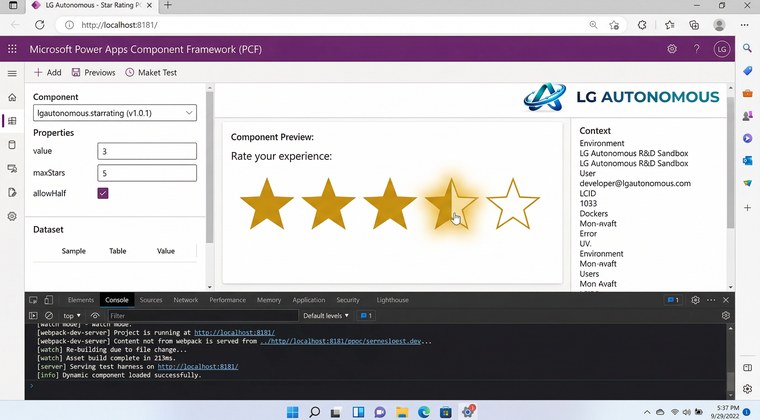
Run the local test harness — no D365 environment needed:
npm start watchThis opens a browser with your component rendered in a test harness where you can pass mock data and see live output.
5. Packaging & Deploying to D365
# Build production bundle
npm run build

# Package into a solution
pac solution init --publisher-name LG Autonomous --publisher-prefix nxp
pac solution add-reference --path .

# Deploy to your environment
pac pcf push --publisher-prefix nxp
Tip: Always push to a dev environment first, not production. Use Power Platform ALM pipelines to promote tested solutions.
What's Next?
From here, you can explore React-based PCF controls (much more powerful for complex UIs), virtual controls, dataset controls for grids, and publishing to AppSource. Check out our other article on PCF + React 18 for the next step.